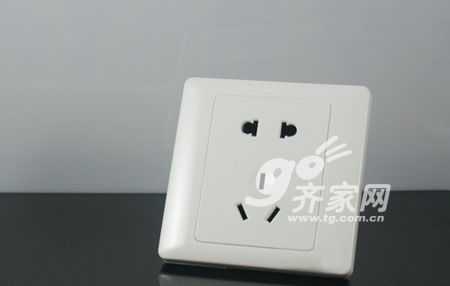
During the renovation, each household has to install sockets and switches. However, how these components are installed is the safest and the correct installation procedure is not everyone knows. 1. Find the specific location of the switch socket on the drawing first. It looks a bit like the English “F†on the floor plan. 2. Draw a rough outline of the socket box box that has been prepared beforehand. This tool is very helpful for the positioning. 3. Measure the distance from the wall of the wire pipe in the vertical direction. 4. Measure the same width at the corner. 5. According to the position of the point just measured, you can draw two vertical lines with bullets. 6. The cutting machine cuts along the bullet line. 7. When the electric drill comes out and opens a suitable pipe trough, the depth of the trough must match the diameter of the pipe, and the pipe can enter the seat, and whether the opening is neat can reflect the level and experience of a construction team. 8. Open a box hole and insert a connector outward from the box. 9, made a line box, will be embedded in a good wall. 10. Calculate the distance between the tube and the floor from the box to ensure that the bend is smooth and the tube does not break. 11. Connect the pipe and the box, and place the bend on the ground smoothly. 12, the new pipe threading can not go to the wire, but if you wear expensive audio cable or long-distance stringing more standard practice will use the wire. 13. First, make a hook on the wire to prevent the tip from scratching the inside of the pipe. 14. Slowly insert the wire into the pipe and slowly push it, avoiding excessive scratches inside the pipe. 15. After the wire comes out from the other end, it is screwed with the wire and slowly pulls the wire into the tube. The wire is actually the lead in this process. 16, after the wire to the box, the pipe connecting with the matching joints. 17. As a hidden project, the interface link must be closed and not damaged. 18. The other end of the wire should be protected with a pressure cap in time. 19, the line of the first part of the standard practice is to hide all the boxes, but the length control of the thread is a detailed problem, no more than a lot of standard. 20. After the threading part is completed, it can be filled with cement evenly after a series of acceptance tests such as whether the circuit is smooth or not. 21. The process of threading on the ceiling is basically the same, but generally the red line and the blue zero line are used because the ceiling is mostly a lamp line. Construction Acceptance Hydropower Renovation Considerations Switch Socket Home Decoration Cement Glass Beads,Road Paint,Reflective Fabric Glass Bead Raw Materials,PVC Additives Co., Ltd. , http://www.chpvcadditives.com
Universal switch