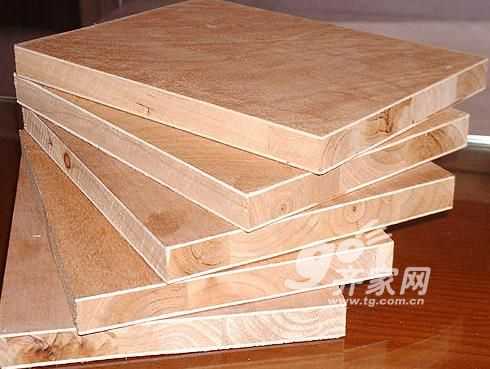
Process flow Lines → Moisture barrier installation → Wood keel installation → Basic board installation → Facing panel installation Tools / raw materials Wooden keel, moisture-proof material, fireproof material, veneer, nail, etc. (1) Stretching line: According to the size requirements on the design drawing, first horizontal level is drawn on the wall, and the dividing line is popped up. According to the ruled lines, wooden beams are added to the walls or embedded in the walls. The position of the wooden bricks and rafts shall be in accordance with the size of the keel sub-file. The horizontal and vertical spacing shall be generally 300mm and not more than 400mm. (2) Installation of moisture-proof layer: The wooden wall surface must be damp-proof before construction. (3) Wooden keel installation 1) The moisture content of all wood keels in this project is controlled within 12%. The wood keel should be fireproofed, and fireproof paint can also be used to brush the inside and outside of the raft and on both sides three times, and then dry and then assembled. 2) According to the design requirements, the wood dragon skeleton, whole piece or piece assembly is made. All wall finishes should be leveled and straightened according to the four corners of the room and the upper and lower keels. Wood markings should be made from the top to the bottom according to the size of the panels. However, the keel should be nailed in the neutral position according to the design requirements. This project uses a 30mm x 40mm section keel. Keel size is 300mm×300mm. 3) Grass-roots keel fixation: Before the installation of wood keel, it is necessary to check whether the flatness and verticality of the primary wall surface meet the quality requirements. If there is any error, the flatness and verticality can be adjusted by padding the solid wood and the wood dragon's skeleton. degree. At the same time, check if there is any gap between the skeleton and the solid wall. Walls without wooden bricks can be drilled with electric drills, and the hole depth should be between 40 and 60 mm. Wooden keel pads should be nailed with wooden keel. The keel must be nailed to each piece of wooden brick, with two nails on each piece of wood, staggered at the upper and lower angles and fixed with the keel. (4) Decorative panel installation 1) The veneer used for the wooden wall should be selected before use, and the veneer with the same or similar color of wood can be assembled together. Wood grain butt joint should be natural and coordinated. The edges of the board with uneven edges should be flattened on four sides. The thin board should be made of the base board first, and then glued. The clear water paint decoration board should avoid the head tight connection. The veneer should be painted twice in the back of the fire paint. 2) Sealing the veneer panel, use the air pump mosquito screw gun to fix l0mm mosquito nails, and fix the wooden splint on the wooden keel. Before sealing the nails, the joints of the raw block boards are adjusted to require even studs and the nail pitch is 100 to 150 mm. Phase out the nail fixing method. 3) Fix the wooden splint. If it is still nailed with an iron nail, the nail head must be handled. There are two methods to deal with it: one is to hammer the nail head first and then nail the nail head into the wooden splint; The other is to first nail the nail head into the wooden plywood, and then use the pointed head to punch the nail head into the wooden cleat within 1mm. Precautions Pay attention to the fire protection coating must be painted, so as not to cause fire hazards. Matters needing attention villa design three trees paint paint paint room Fuonce Lighting , https://www.fuonce.com